Photos + Post by Kristin Ess
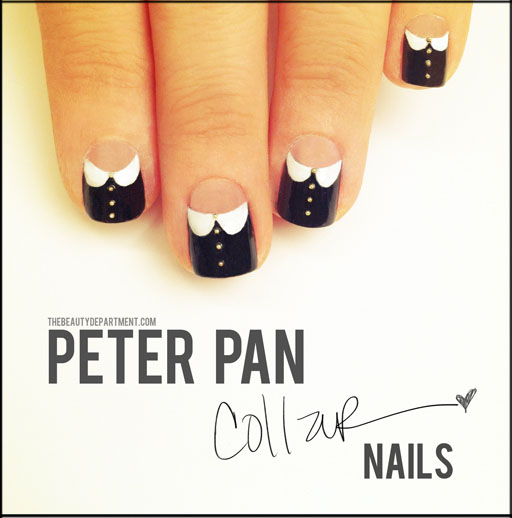
How cute do these Peter Pan Collar Nails look? I'm definitely going to pop this look onto my nails to perk up my thursday morning dreariness. I found this tutorial on The Beauty Department, and thought that I would share it asap! All people in the fashion world are currently obsessed with the peter pan collar, and I am no different.
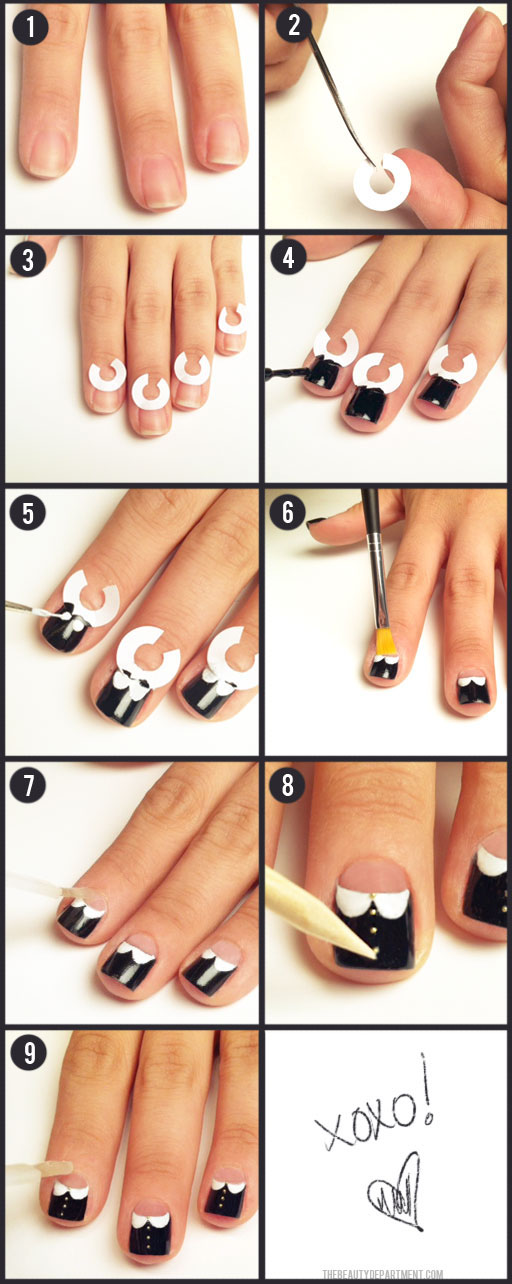
Steps:
- Start with clean nails– no polish, no base coat.
- Cut binder paper ring stickers so they’re more flexible.
- Apply to each finger to get the neckline shape.
- Apply one or two coats of BLACK NAIL POLISH.
- Make the collar using WHITE NAIL POLISH. Make 2 dots next to each other to start the collar and then connect it with corners (see above).
- Remove the stickers and use a paint brush to clean up the line.
- Add a CLEAR COAT to secure the MICRO BEADS.
- Use a damp orange stick to pick up the bead and place it on the nail.
- After making a row of “buttons” add one last quick drying clear coat to secure the beads.


No comments:
Post a Comment